Thursday, October 8, 2015

My fetish for scaling Everest

Everest as seen from the window I sat during my MT Flight

Scaling Everest can cost a fortune or even a life and that is what ignites my passion to summit the world`s highest mountain. In every step there is danger , waiting for the right moment to violently shake you from the feet down and swallow you into its deep crevasse or maybe put you to sleep under its massive blanket of snow and if you are lucky , altitude sickness, hypothermia. When you get caught in these, death is inevitable.

Top of everest as seen from the cockpit
I am pretty sure that this alacrity to climb the Everest did not engendered because I watched the Everest movie. I had a dream to summit it before that but after my first solo trek.

MT everest covered with clouds
I did a lot of research on Everest and the results were astounding. If we push our body beyond its limit, we end either die trying or we make a history. There are many fatalities around the year trying to scale Everest but still people risk their life to climb it because they know that whatever maybe the consequences the risk is worth it and I feel the same too. 2013 avalanche was a deadly one as it killed many Sherpas and sadly among them was a father of one of the girl I knew from my high school.
With the blistering cold temperature and fierce wind to just make it worse, the summit may seem impossible. At these altitude the weather changes in a fickle.
Standing 8848m above , you can realize how tiny you are and how cosmic the space outside the earth is. I probably bet, I will mistake the view from summit analogous to heaven.  I wonder how the sky will look from there. Will there be any clouds above than us? How will Mt Kangchenjunga look, piercing the benevolent looking clouds, that looks as if they will cushion the fall.

Climbing Everest is definitely on my wish list and I am really hoping to do it when I am 30.

Wednesday, October 7, 2015

TDD is not enough for your software`s QA


Recently the rise of unit testing, test-driven development, and agile methods has attested to a surge of interest in making the most of testing throughout all phases of the SDLC. However, testing is just one of many tools that you can use to ameliorate the code quality.
Almost every language has a tool that probe for violations of style guides, common gotchas, and sometimes crafty errors that can be hard to detect. Static analysis tool got in the reputation radar for giving a large number of false positive warnings and warnings to follow the style guide that are not necessarily required to follow.The good news about static analysis tools are that they can be configured to your needs. These tools can be configured either in your IDE or through command-line.
When rolling out a fresh new project, the team, unanimously should follow a certain standard of coding throughout the whole SDLC. In all, a coding standard should make it easier to work in the project, and maintain development speed from the beginning to the end.Obviosuly your linting tool will rain you with plethora of false positive error because it would not be able to guess your project`s coding pattern. But like I said earlier, they can be configured and you can roll your own static checker.
So, do not let testing be the terminal of your QA, make sure to take advantage of analysis tool.

Monday, October 5, 2015

Restarting unicorn


Every time you make any changes to your config files , you have to restart you server, at least that is what rails will notify you. It would be easy as pressing ctrl + c  if only you had run the rails server by doing rails s. But that is not the case if you are using servers such as nginx as your reverse proxy.

What you can do is, run service unicorn_appname restart in your app directory. If it works then that is fine. But if it does not and show you an error telling you to check your stderr file in the log directory, then follow on.
If you take a look at you stderr log file you will see something like this.
It is telling me that there is a process already running. So you have to kill that process and start your unicorn application server again.

Run ps aux | grep unicorn and it will list all the running processes. Since unicorn is running on 2710 i need to kill it.
pkill 2710 will kill the process and after that run service unicorn_fuitter start and now your app will be working just fine.

Sunday, October 4, 2015

Running rails app with Unicorn + Nginx


If you have come from PHP background , you will probably loose your nerve trying to get a simple hello world rails app to work with your server. Getting rails app to work with the server is a little different from any php apps where you just have to place your php app inside the /html folder(in my case).

My system has RVM, rails , ruby, nginx, postgres.

First we need to install unicorn. Unicorn is an application server. Since unicorn cant not be accessed by users directly, we will use Nginx as a reverse proxy.

Navigate to your project directory and open your Gemfile and add gem 'unicorn' gem. Then run bundle install.
Now we need to configure it.

Inside your config directory add unicorn.rb file.

unicorn.rb

# set path to application
app_dir = File.expand_path('./')
shared_dir = "#{app_dir}/tmp"
working_directory app_dir


# Set unicorn options
worker_processes 2
preload_app true
timeout 30

# Set up socket location
listen "#{shared_dir}/sockets/unicorn.sock", :backlog => 64

# Logging
stderr_path "#{shared_dir}/log/unicorn.stderr.log"
stdout_path "#{shared_dir}/log/unicorn.stdout.log"

# Set master PID location
pid "#{shared_dir}/pids/unicorn.pid"


Now lets create the required directories

mkdir -p tmp/log tmp/sockets tmp/pids 

Give those directories necessary read/write permission
Now we will create a init script that will load on boot.

sudo nano /etc/init.d/unicorn_appname
 
You can name appname whatever you want
unicorn_appname

#!/bin/sh

### BEGIN INIT INFO
# Provides:          unicorn
# Required-Start:    $all
# Required-Stop:     $all
# Default-Start:     2 3 4 5
# Default-Stop:      0 1 6
# Short-Description: starts the unicorn app server
# Description:       starts unicorn using start-stop-daemon
### END INIT INFO

set -e

USAGE="Usage: $0 <start|stop|restart|upgrade|rotate|force-stop>"

# app settings
USER="sushant"
APP_NAME="appname"
APP_ROOT="/usr/share/nginx/html/app" #in my case
ENV="development"

# environment settings
PATH="/home/$USER/.rvm/shims:/home/$USER/.rvm/bin:$PATH"
CMD="cd $APP_ROOT && bundle exec unicorn -c config/unicorn.rb -E $ENV -D"
PID="$APP_ROOT/shared/pids/unicorn.pid"
OLD_PID="$PID.oldbin"

# make sure the app exists
cd $APP_ROOT || exit 1

sig () {
  test -s "$PID" && kill -$1 `cat $PID`
}

oldsig () {
  test -s $OLD_PID && kill -$1 `cat $OLD_PID`
}

case $1 in
  start)
    sig 0 && echo >&2 "Already running" && exit 0
    echo "Starting $APP_NAME"
    su - $USER -c "$CMD"
    ;;
  stop)
    echo "Stopping $APP_NAME"
    sig QUIT && exit 0
    echo >&2 "Not running"
    ;;
  force-stop)
    echo "Force stopping $APP_NAME"
    sig TERM && exit 0
    echo >&2 "Not running"
    ;;
  restart|reload|upgrade)
    sig USR2 && echo "reloaded $APP_NAME" && exit 0
    echo >&2 "Couldn't reload, starting '$CMD' instead"
    $CMD
    ;;
  rotate)
    sig USR1 && echo rotated logs OK && exit 0
    echo >&2 "Couldn't rotate logs" && exit 1
    ;;
  *)
    echo >&2 $USAGE
    exit 1
    ;;
esac


Update the scripts permission and enable unicorn to boot on start

sudo chmod 755 /etc/init.d/unicorn_appname
sudo update-rc.d unicorn_appname defaults
 
Now open

sudo nano /etc/nginx/sites-available/default
 
default

upstream app {
    # Path to Unicorn SOCK file, as defined previously
    server unix:/usr/share/nginx/html/app/tmp/sockets/unicorn.sock fail_timeout=0; #in my case
}

server {
    listen 80;
    server_name example.com;

    root /usr/share/nginx/html/app/public; #in my case

    try_files $uri/index.html $uri @app;

    location @app {
        proxy_pass http://app;
        proxy_set_header X-Forwarded-For $proxy_add_x_forwarded_for;
        proxy_set_header Host $http_host;
        proxy_redirect off;
    }

    error_page 500 502 503 504 /500.html;
    client_max_body_size 4G;
    keepalive_timeout 10;
}
  

Open your hosts file and add
127.0.0.1       example.com
then
sudo service unicorn_appname restart
sudo service nginx restart  If you browse to example.com your app should be running

Saturday, September 26, 2015

Getting CKEditor to work with laravel 5.1

I rarely code in PHP these days but I had to use  Laravel, a great framework, for one of my project. My project required a WYSIWYG editor for its blogging section. I thought of giving ckeditor a try. The installation process was fairly simple.  All I had to do was place the necessary files/folders inside public directory (in my case) and then link the ckeditor.js file in my html. You can also use CDN to include ckeditor.The installation process was painless, however I found it very hard to get the file browser working. In this tutorial, I will talk about getting the file browser up and running.

During the time of writing this, my laravel version is 5.1.17(LTS). I am using Linux Mint 17.1 , sublime text 3 as my text editor, nginx as my server and mysql as my database. Except my laravel version and OS, the others are just extraneous, haha.

Ok, click in the editor`s image icon. You will see that there is no upload option.

To activate upload option, you have to add filebrowserImageUploadUrl.

CKEDITOR.replace('editor1',{
        filebrowserImageUploadUrl : "{{route('infos.upload',['_token' => csrf_token() ])}}",
        filebrowserWindowWidth  : 800,
        filebrowserWindowHeight : 500
    });


Here the filebrowserImageUploadUrl , will send a POST request to the route. If you remove the '_token' => csrf_token() you will get a tokenMismatch error.filebrowserWindowWidth & filebrowserWindowHeight is related with the appearance of the popup window`s dimension.

Lets create a route for 'info.upload'.

Route::post('infos/uploadImage',[
        'as' => 'infos.upload',
        'uses' => 'InfoController@uploadImage'
    ]);


uploadImage method in InfoController

public function uploadImage(Request $request)
    {
        $file = $request->file('upload');
        $uploadDestination = public_path() . '/uploads/about';
        $filename = preg_replace('/\s+/', '', $file->getClientOriginalName());
        $fileName = md5($filename) . "_" . $filename;
        $file->move($uploadDestination, $fileName);
    }


All the uploaded files will be upload to uploads/about folder, which is arbitrary.

At this point, your file should be uploaded. If not try opening your developers tool and check the network tab, there you can trace any errors.

Ok, now your file has been uploaded but you have to include it . To do that you have to add certain keys.
CKEDITOR.replace('editor1',{
        filebrowserBrowseUrl: "{{route('infos.image.browse')}}",
        filebrowserUploadUrl : '/browser/upload/type/all',
        filebrowserImageBrowseUrl: "{{route('infos.image.browse')}}",
        filebrowserImageUploadUrl : "{{route('infos.upload',['_token' => csrf_token() ])}}",
        filebrowserWindowWidth  : 800,
        filebrowserWindowHeight : 500
    });


Lets take a look at the routes now.

Route::post('infos/uploadImage',[
        'as' => 'infos.upload',
        'uses' => 'InfoController@uploadImage'
    ]);

    Route::get('infos/image/browse',[
        'as' => 'infos.image.browse',
        'uses' => 'InfoController@browseImage'
    ]);


This will how our controller looks right now:

public function uploadImage(Request $request)
    {
        $file = $request->file('upload');
        $uploadDestination = public_path() . '/uploads/about';
        $filename = preg_replace('/\s+/', '', $file->getClientOriginalName());
        $fileName = md5($filename) . "_" . $filename;
        $file->move($uploadDestination, $fileName);
    }

    public function browseImage(Request $request)
    {
        $test = $_GET['CKEditorFuncNum'];
        $images = [];
        $files = \File::files(public_path() . '/uploads/about');
        foreach ($files as $file) {
            $images[] = pathinfo($file);
        }
        return view('infos.file',[
            'files' => $images,
            'test' => $test
        ]);
     
    }


This will be the contents of our view file
@extends('app')

@section('content')
    @foreach($files as $file)
        <a href='{{url("uploads/about/".$file["basename"])}}'><img src='{{url("uploads/about/".$file["basename"])}}'></a>
    @endforeach
@endsection

@section('footer')
<script type="text/javascript">
$('a[href]').on('click', function(e){
    window.opener.CKEDITOR.tools.callFunction(<?php echo $test; ?>,$(this).find('img').prop('src'))
});
</script>
@endsection


This line of code window.opener.CKEDITOR.tools.callFunction(<?php echo $test; ?>,$(this).find('img').prop('src')) gets the url of clicked image and then put it into the url field.
That`s all there is to it.
If you run into any problem, leave a comment below. I hope to sort it out.

Monday, September 7, 2015

Alone at an altitude of 3800 m

 [Link to all the pictures that I took]

Trip cost break down

I paid Rs 426 for my ticket to Charikot.
I bought 2 kilo`s of guava at Rs 100.
I ate aloo and puri at Rs 50.
I bought Rs 600 worth of Churpee.
I paid Rs 250 for a room.
I paid Rs 50 for a bowl of hot noodle.
I paid Rs 130 for Daal-Bhaat-Aloo
I paid Rs 325 for my bus fare from Charikot to Kathmandu.

Tips and tricks for solo trekking


If anyone asks you whether you are traveling alone , tell them that your friends are coming behind you. That way if s/he is a potential threat, they will back off.

Put all your chargers in one polythene bag.


The sun had not yet peeped through its curtain of clouds when I boarded the so called super express bus from the old bus park and I was all set to go to Charikot. I had already bought my ticket a day before my solo trip. After 5 hours of bus ride, covering 150km from Kathmandu, I reached Charikot. The recent earthquake had its toll up to there too. 5 hrs of bus ride was not exhausting as there were a lot of waterfalls on the way. They were sort of eye candy for me.

Upon reaching Charikot, as unknown a tourist can be, I asked some locals for direction to Kuri. Carrying my 3kilo bag pack, I followed the direction. I had never traveled alone before and never had I carried anything while traveling. I would take just a few steps and before I know I would be resting. Since I had no plans of getting lost, I frequently asked the locals for direction. Little did I know, one of the fellow local was heading towards his village near Deurali.

Deurali
Deurali, is also the point in the route to get to Kuri. We talked about the shortes way to Kuri and shared guava that I had bought at Dolalghat. After an hour we reached Kuri and exchanged goodbyes.

Road to Kuri

From Deurali, I started to trek alone. I had read in some blogs that bears and leopards were common there. That information really motivated me to keep pacing until I reached to Kuri. Reaching Kuri was a far cry as the 3 kilo bag and the uphill ascend was holding me back, slowing me down.



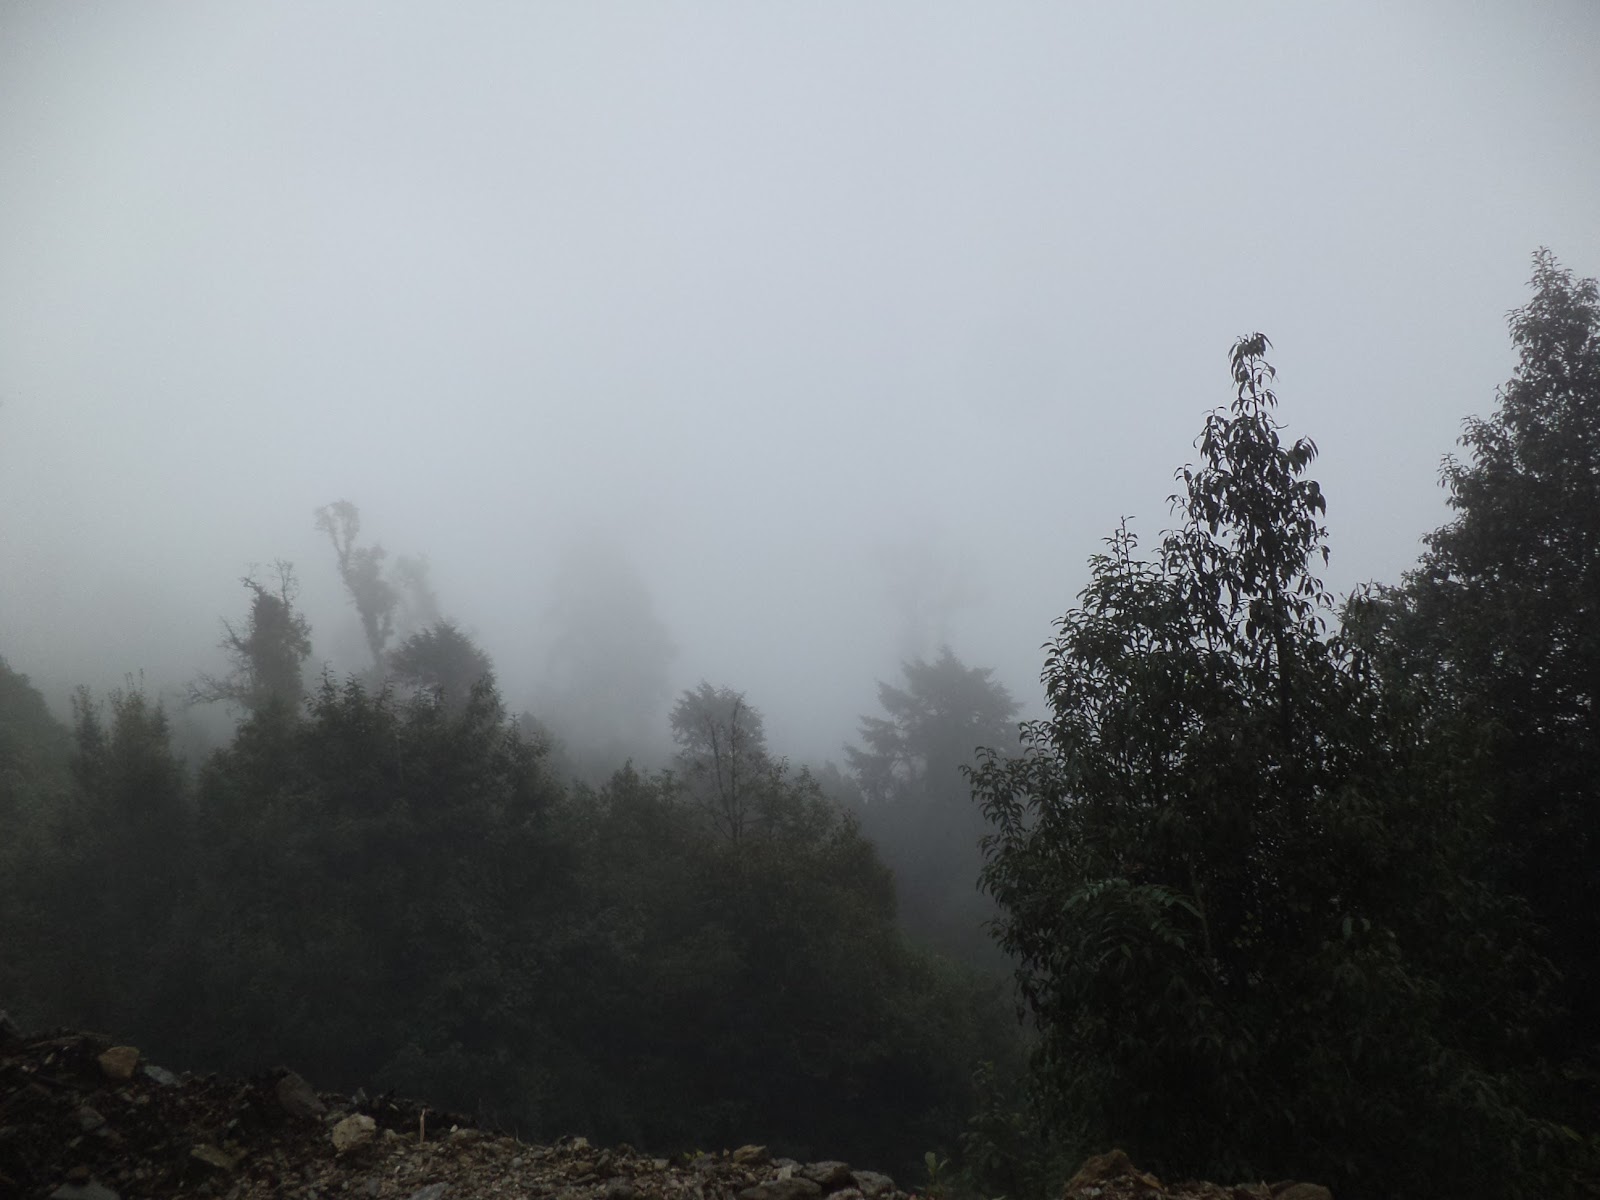
My solo trip started to get really scary as the fog started to set in and the visibility was poor. Whenever the fog moved , the trees would make rustling noise and it would drizzle too. To make the scene even more scarier there were the roaring noise of waterfalls, scary bird`s call and the branches of the tress covered with mosses hanging down like in any ghost or thriller movies. I wanted to quit so bad but I had no idea how far Kuri was. I told myself ,"This whole solo trek is what I have been whining about from a year. Now I am doing it, why quit? Look, if I survive this, then I have one hell of a story to tell. SOLO , of all of the things I could do , I choose solo. How stupid have I become?". After 3 hours of walk I saw an old man appearing out of dense fog from the opposite direction. I was so happy to finally meet someone and again I asked him about the direction and time to reach Kuri.

After another hour of hiking, I heard someone chopping trees. I again asked him for direction and he told me that the nearest settlement was just 5 mins away.


 I reached there and talked with the locals.

There I bought 6 pieces of churpee. Since I had to reach Kuri the very same day, I had to bid them goodbye. After walking for another hour I finally met two young guys riding down on a motorcycle. I asked them about the direction and they told me it is just 10 mins away.

Visual of Kuri

Because the visibility was very poor I did not see Kuri until I reached near Kuri. I had to book the lodge as soon as possible as it was really cold up there. To satisfy my hunger I ate hot noodles. Since it was off-season there was not much options to choose from for dinner. So I settled for Daal-Bhaat-Aloo.

Kalinchowk hill

The morning of the very next day, I started my journey up to Kalinchowk. At an altitude of nearly 4000 m I was all alone. After I had finished worshiping to the goddess Kali, I started my descend which only took me about 30 mins.

Good bye Kalinchowk and Kuri
I had to leave for Charikot as soon as possible because if the fog would again set it , it would be another suicide mission. On the way I met a local who was traveling to Charikot to sell his Churpee and he took me to Charikot.

Monday, July 27, 2015

From Kulekhani to chitlang

As this was an unplanned trip, we could not manage to take pictures of the scenery.

Escaping from work life for some time to bust the stress can be very rewarding. We traveled from Kathmandu to Pharping, Pharping to Kulekhani, Kulekhani to Chitlang, Chitlang to Thankot and finally Thankot to Kathmandu. I do not even remember how many kilo meters did we cover in a day.
As we did not pre planned this trip, we could not manage to take enough pictures as our phones battery were dead. After leaving from chobar, there is less human settlement and pollution. On the way, there is abundance of trees covering the hills. If the weather is clear, you can enjoy a great view. I advice you to have your vehicle in condition before going there because the road is pretty much off road.

On the way to kulekhani.
From Pharping:
If you take the road from pharping, it is going to be awesome ride with great views but there are certain places where the road is off road.If you go in the season of pears you will also see a lot of pear trees in the way and you could eat them as well but make sure no one is around. You will also come to a road where the turnings are crazy. Sorry I could not take pictures of those.When you are about to reach kulekhani , you will also see a waterfall on the way.
Waterfall on the way to kulekhani
I am guessing that this waterfall will only be on monsoon. Anyway, we parked our bikes and headed for it but there was no way to reach to the waterfall. So we somehow managed to find a very slippery and risk route. We crossed a small stream and there we were taking pictures with the waterfall. We were also lucky to find another waterfall at the same place.
Second waterfall
We did what everyone would do. Took off our clothes and started swimming. The water was so cold that we could not stay there any longer. The good thing was that, not many people knew about this and it was very clean there.
down below was the waterfall

Then we headed for kulekhani. On the way one of the bike broke down, disc break was not working. But it did not slow us down until we reached kulekhani and saw how beautiful she looked.
kulekhani damn


The first word that came out of every body was "Wooooooow". It was just amazing. The weather was perfect, the sky was clear, the sun was out. The water was looking light green and it created small waves with the wind. There was no noise of vehicles nor peoples. It was just quiet, just the way I wanted it to be. I would give up anything just to travel. After staying there for a while we picked up our pace and went to eat kulekhani fish. It cost us Rs100-Rs150 per plate and it had 4 pieces of fish. We all were so hungry that we did not bother to take pictures of our dishes. From there we traveled to chitlang`s veda farm.

Bheda Farm at chitlang


From there we then reached to the main of chitlang. Sure on the way, we slipped and my friend burned his leg with the bike`s silencer.
Off Road

The road is very off road, but the view is amazing. All the hills were covered with green trees and the hills were so near. From chitlang to thankot, the road is very off road. It is going to be a uphill off road ride until you can see the view of kathmandu. Then it is going to be a very painful downhill ride as the road is worse than off road.
View of Kathmandu from Chitlang


So that was our trip to kulekhani to chitlang. I would suggest you to take an off road bike if possible or put your bike in condition . Do not take scotty there as the clearance of that 2 wheeler is very low. Chitlang and khulekani is a must visit place for all nepalese. I am again planning to go there and take some great pictures. If you are planning to go there with a bike, go from pharping and return from thankot. If you try to go from thankot then you will likely take a U-turn and return back. If you are taking a public vehicle, make sure you get off at Thankot and then start from there. Normally it will be an uphill trek into the wilderness. Now I am patiently waiting for my next trip to Mustang.
Good bye, kulekhani.